Ultimate Guide to Installing a Quickshifter on Your Yamaha R3 for Blazing-Fast Gear Shifts
Why You Need a Quickshifter on Your Yamaha R3
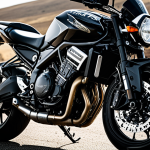
If you’re an avid motorcyclist, especially one who enjoys the thrill of the race or the agility of a sports bike, you’ve probably heard of the magic that a quickshifter can bring to your riding experience. A quickshifter is a device that allows you to shift gears without using the clutch, making your gear shifts smoother, faster, and more efficient. For Yamaha R3 owners, installing a quickshifter can transform your bike into a more responsive and exhilarating ride.
Understanding Quickshifter Technology
Before diving into the installation process, it’s essential to understand how a quickshifter works. A quickshifter uses sensors and actuators to momentarily cut the ignition or fuel supply during the shift, allowing for clutchless gear changes. This technology is particularly popular in racing and high-performance riding because it reduces the time spent shifting gears, thereby improving overall speed and control.
Have you seen this : Elevate your ride: custom sticker kits for motorcycles
Types of Quickshifters
There are several types of quickshifters available, each with its own set of features and benefits:
- Translogic Quickshifter: Known for its high-quality and reliability, Translogic quickshifters are popular among racers and road riders alike. They offer various models, including the QSXI and DCS (Dual Channel Shift) systems[3].
- TLS (Techtronix Ltd) Quickshifter: TLS offers a range of quickshifters, including the TLS QSXI, which is compatible with many Yamaha models, including the R3.
Preparing Your Yamaha R3 for the Installation
Before you start the installation, ensure your bike is in good working condition. Here are some steps to prepare your Yamaha R3:
Additional reading : Ultimate diy manual: seamless installation of a quickshifter on your kawasaki ninja 650
Check Your Bike’s Compatibility
Ensure that the quickshifter you choose is compatible with your Yamaha R3 model. Most quickshifters are designed to work with specific engine types and models, so double-check the specifications.
Gather Necessary Tools and Materials
Here is a list of tools and materials you might need:
- Quickshifter kit (including sensors, actuators, and wiring)
- Wiring harness
- Ignition switch connector
- Gear lever set
- Allen wrenches and screwdrivers
- Electrical tape and connectors
Prepare the Workspace
Clear a clean and well-lit workspace. Ensure you have all the necessary tools and materials within reach to avoid any delays during the installation.
Step-by-Step Installation Guide
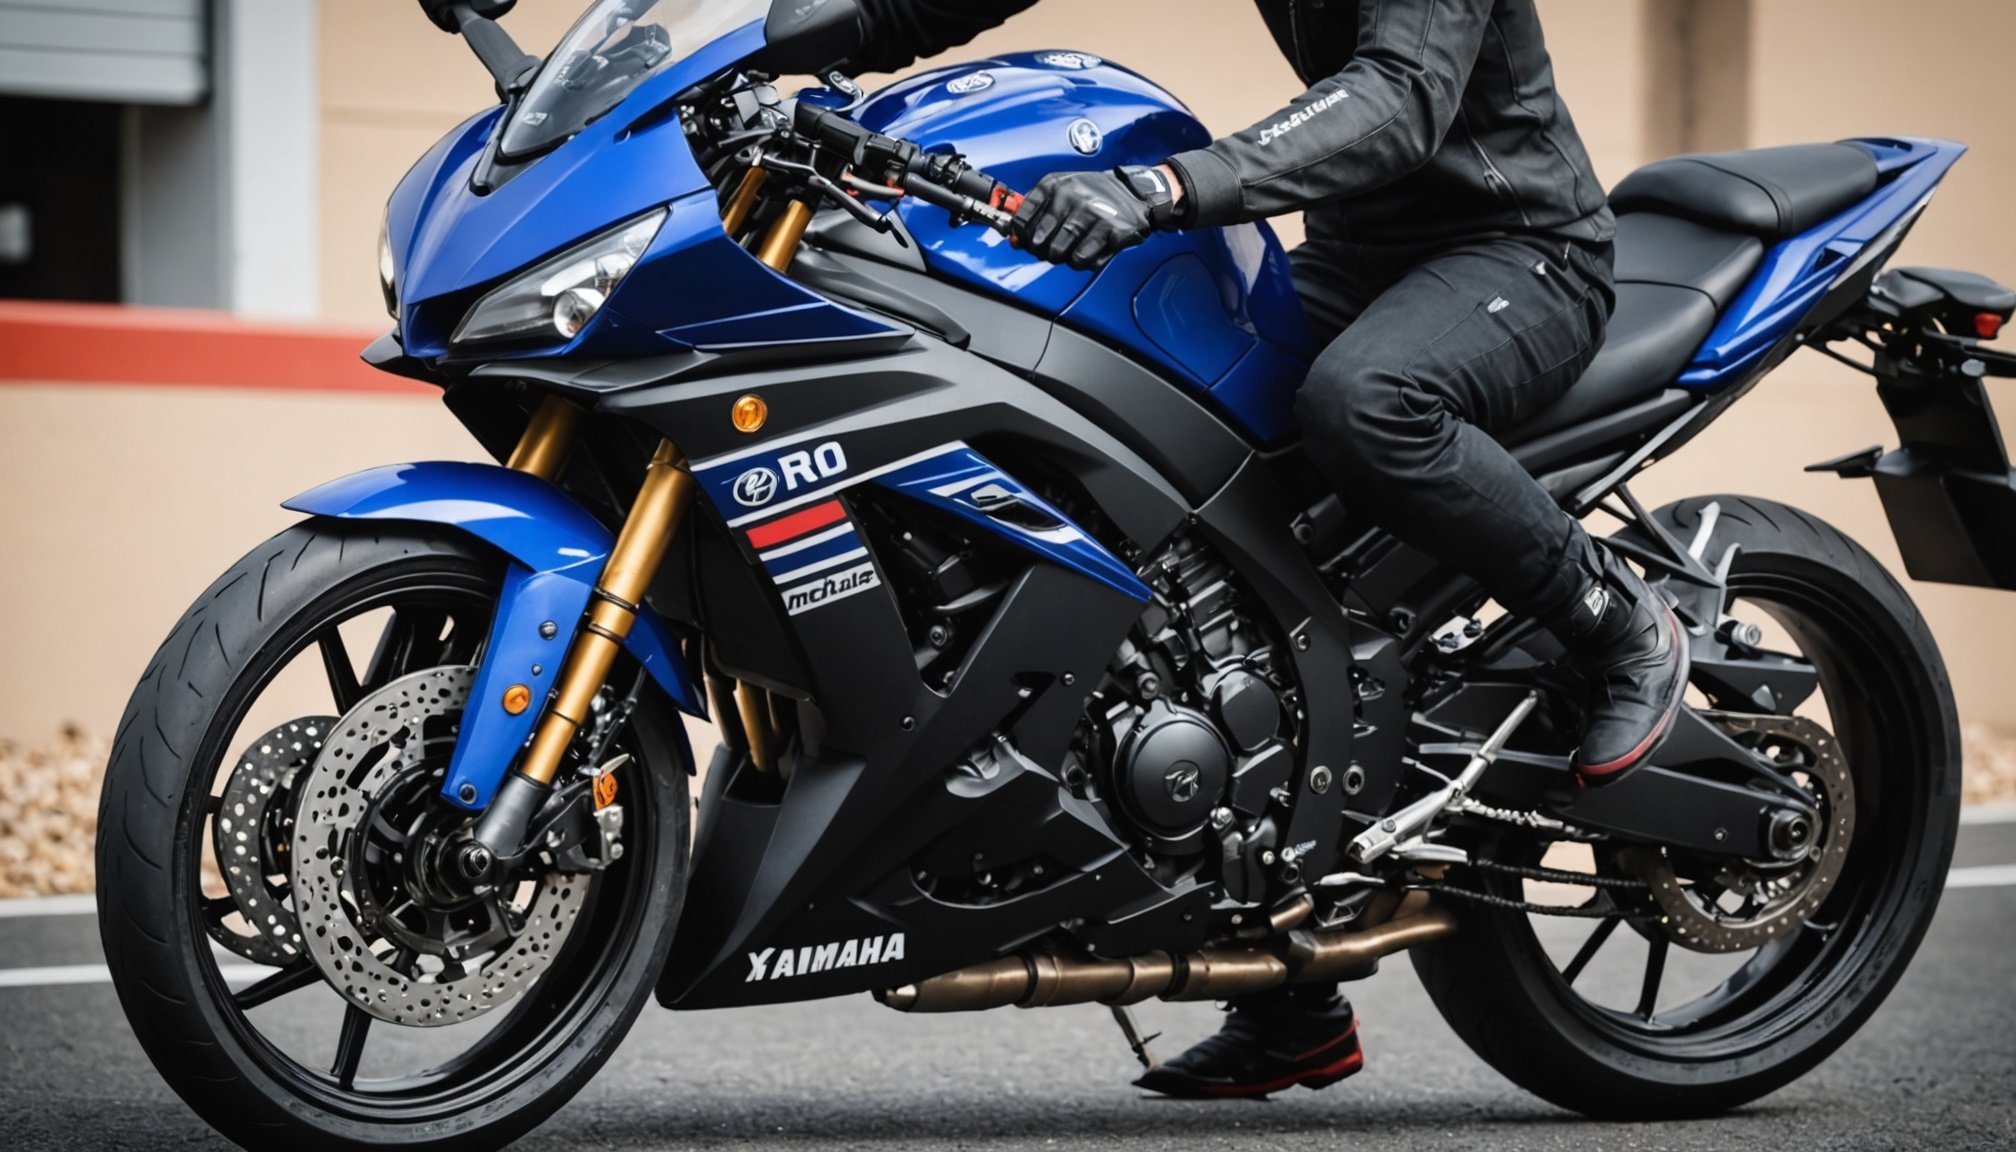
Installing the Sensors
The first step involves installing the sensors that detect the gear shifts. These sensors are usually mounted on the gear lever and the shift rod.
-
Mounting the Gear Lever Sensor:
-
Remove the gear lever cover to access the shift rod.
-
Attach the sensor to the gear lever, ensuring it is securely fastened.
-
Connect the sensor wires to the quickshifter control unit.
-
Mounting the Shift Rod Sensor:
-
Locate the shift rod and attach the sensor to it.
-
Ensure the sensor is aligned properly to detect the gear shifts accurately.
-
Connect the sensor wires to the quickshifter control unit.
Connecting the Quickshifter to the Ignition System
The quickshifter needs to be connected to the ignition system to cut the ignition or fuel supply during shifts.
- Locate the Ignition Switch:
- Find the ignition switch connector on your bike.
- Disconnect the connector to access the wiring.
- Connect the quickshifter wiring harness to the ignition switch, following the manufacturer’s instructions.
Setting Up the Quickshifter Control Unit
The control unit is the brain of the quickshifter system. Here’s how to set it up:
-
Mount the Control Unit:
-
Choose a secure location for the control unit, usually under the seat or near the battery.
-
Mount the unit using the provided brackets and screws.
-
Configure the Settings:
-
Follow the manufacturer’s instructions to configure the quickshifter settings.
-
Set the sensitivity and shift pattern according to your preference (e.g., road shift, race pattern, inverted race).
Final Connections and Testing
Once all components are installed, connect the wiring harness to the control unit and ensure all connections are secure.
- Test the Quickshifter:
- Start the bike and shift through the gears to test the quickshifter.
- Adjust the sensitivity and shift pattern as needed to achieve smooth and seamless shifts.
Tips and Tricks for Optimizing Your Quickshifter
Adjusting the Shift Pattern
Different shift patterns can be set depending on your riding style and conditions:
- Road Shift:
- Ideal for everyday riding, this pattern provides smooth shifts without being too aggressive.
- Race Pattern:
- Designed for track use, this pattern offers faster and more aggressive shifts.
- Inverted Race:
- This pattern is similar to the race pattern but with inverted shifts, which can be useful for certain riding styles.
Lever Set and Ergonomics
Ensure the gear lever is set to a comfortable position to avoid fatigue during long rides.
- Adjust the Gear Lever:
- Adjust the gear lever to a position that feels natural and comfortable for your foot.
- Ensure the lever is not too close or too far from your foot to avoid straining.
Common Issues and Troubleshooting
Sensor Misalignment
If the sensors are not aligned properly, the quickshifter may not function correctly.
- Check Sensor Alignment:
- Ensure the sensors are aligned with the gear lever and shift rod.
- Adjust the sensors if necessary to achieve accurate detection.
Wiring Issues
Wiring problems can cause the quickshifter to malfunction.
- Check Wiring Connections:
- Ensure all wiring connections are secure and not damaged.
- Use electrical tape and connectors to protect the wires.
Real-World Examples and User Reviews
Many riders have installed quickshifters on their Yamaha R3s with impressive results.
User Review
“I installed a Translogic QSXI quickshifter on my Yamaha R3, and it has completely transformed my riding experience. The shifts are so smooth and fast, it’s like having a whole new bike,” says John, a Yamaha R3 owner.
Comparison with Other Models
Here’s a comparison table to help you understand how the Yamaha R3 with a quickshifter stacks up against other models:
| Feature | Yamaha R3 with Quickshifter | Kawasaki Ninja 300 | Aprilia RS 457 |
|---|---|---|---|
| Max Power | 42 PS @ 10750 rpm | 39 PS @ 11000 rpm | 47.58 PS @ 9400 rpm |
| Max Torque | 29.5 Nm @ 9000 rpm | 26.1 Nm @ 10000 rpm | 43.5 Nm |
| Gear Shift | Quickshifter (optional) | Assist & Slipper Clutch | Quickshifter (optional) |
| Top Speed | 170 kmph | 182 kmph | 190 kmph |
| Mileage | 25 kmpl | 30 kmpl | 30 kmpl |
Installing a quickshifter on your Yamaha R3 is a significant upgrade that can enhance your riding experience significantly. With the right tools, a bit of patience, and some technical know-how, you can transform your bike into a racing machine. Remember to follow the manufacturer’s instructions carefully and test the quickshifter thoroughly to ensure it works seamlessly.
Final Tips
- Practice Makes Perfect: Get used to the new shifting pattern by practicing in a safe environment.
- Regular Maintenance: Ensure the quickshifter and its components are regularly checked and maintained to avoid any issues.
- Enjoy the Ride: With your new quickshifter, enjoy the thrill of faster and smoother gear shifts, whether on the road or on the track.
By following this guide, you’ll be well on your way to experiencing the exhilaration of blazing-fast gear shifts on your Yamaha R3. Happy riding